5 GitHub Actions Every Designer Should Automate
You do not need to become a DevOps person. Five small workflows that catch broken tokens, build your docs site, lint your code, and turn random scripts into one-click tools.
- A GitHub repository you can edit
Why this guide matters
If you are a designer working closer to code, docs, tokens, prototypes, or AI workflows, GitHub Actions can save you from a surprising amount of repetitive work.
You do not need to become a DevOps person.
You just need to identify tasks that are:
- repeated
- predictable
- easy to forget
- annoying to do manually
That is where GitHub Actions shine.
GitHub Actions are not a developer tool. They are a “stop relying on memory” tool. The same instinct that makes you write a design system rule applies here: if you do it more than twice, encode it.
The simple idea
A GitHub Action lets your repository do something automatically when a trigger happens.
For example:
- when a pull request opens
- when a token file changes
- when content is updated
- when you click a button manually in GitHub
You write the trigger and the steps once, in a YAML file inside .github/workflows/. GitHub runs it for you on every matching event.
Where these files go
Every Action lives at:
your-repo/
└── .github/
    └── workflows/
        ├── run-tests.yml
        ├── build-site.yml
        └── build-tokens.yml
Create the folder if it does not exist. Each .yml file is one workflow. You can have as many as you want.
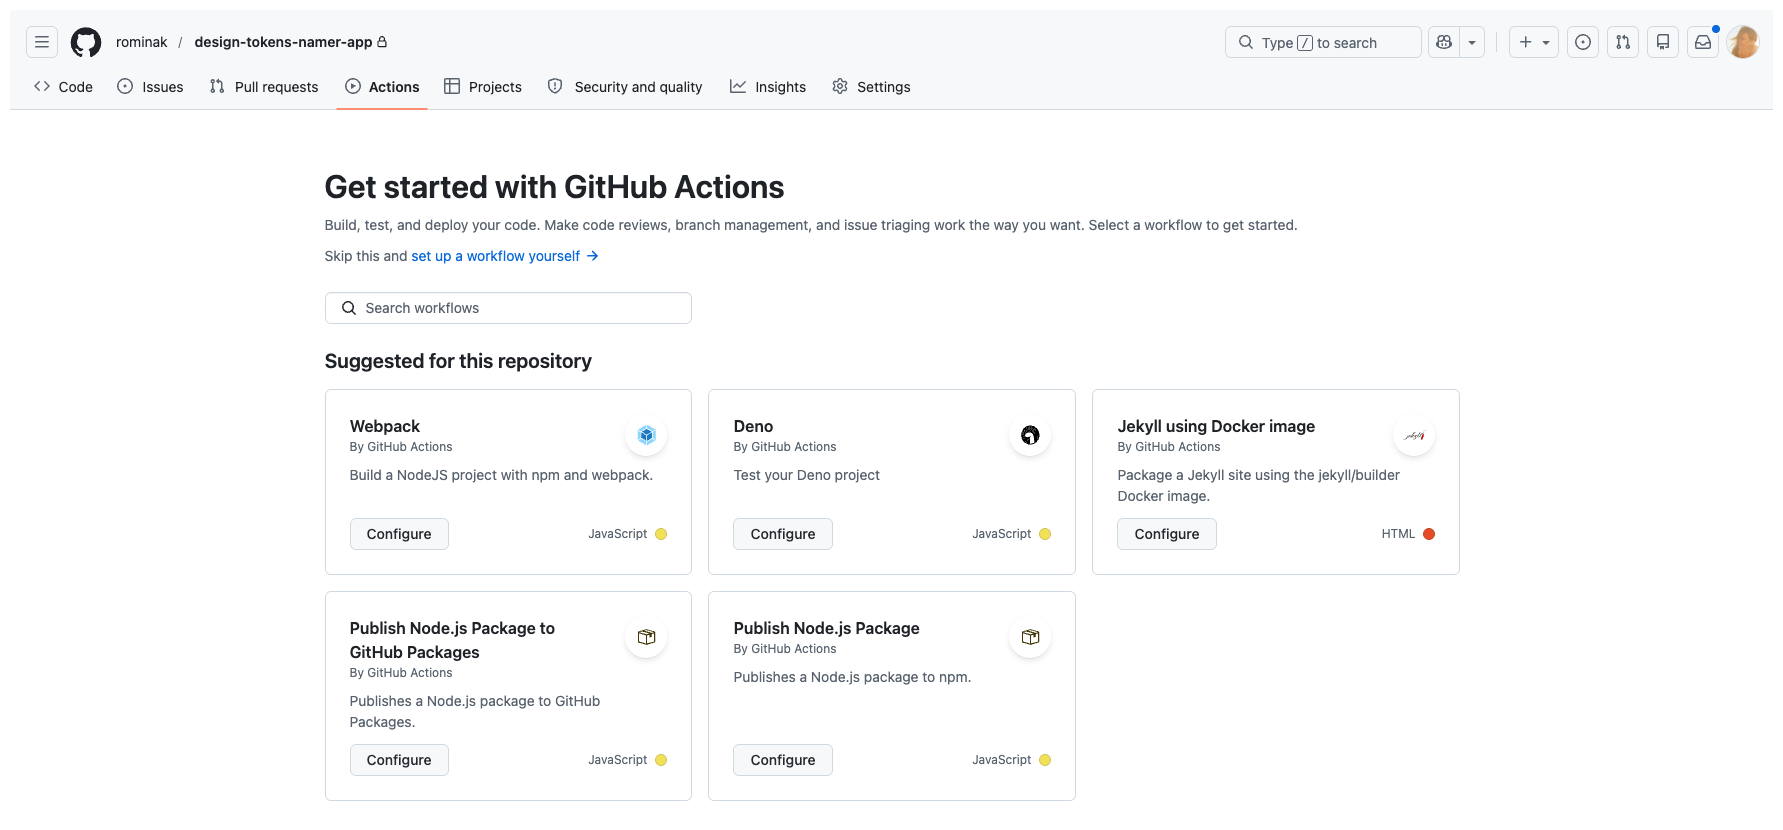
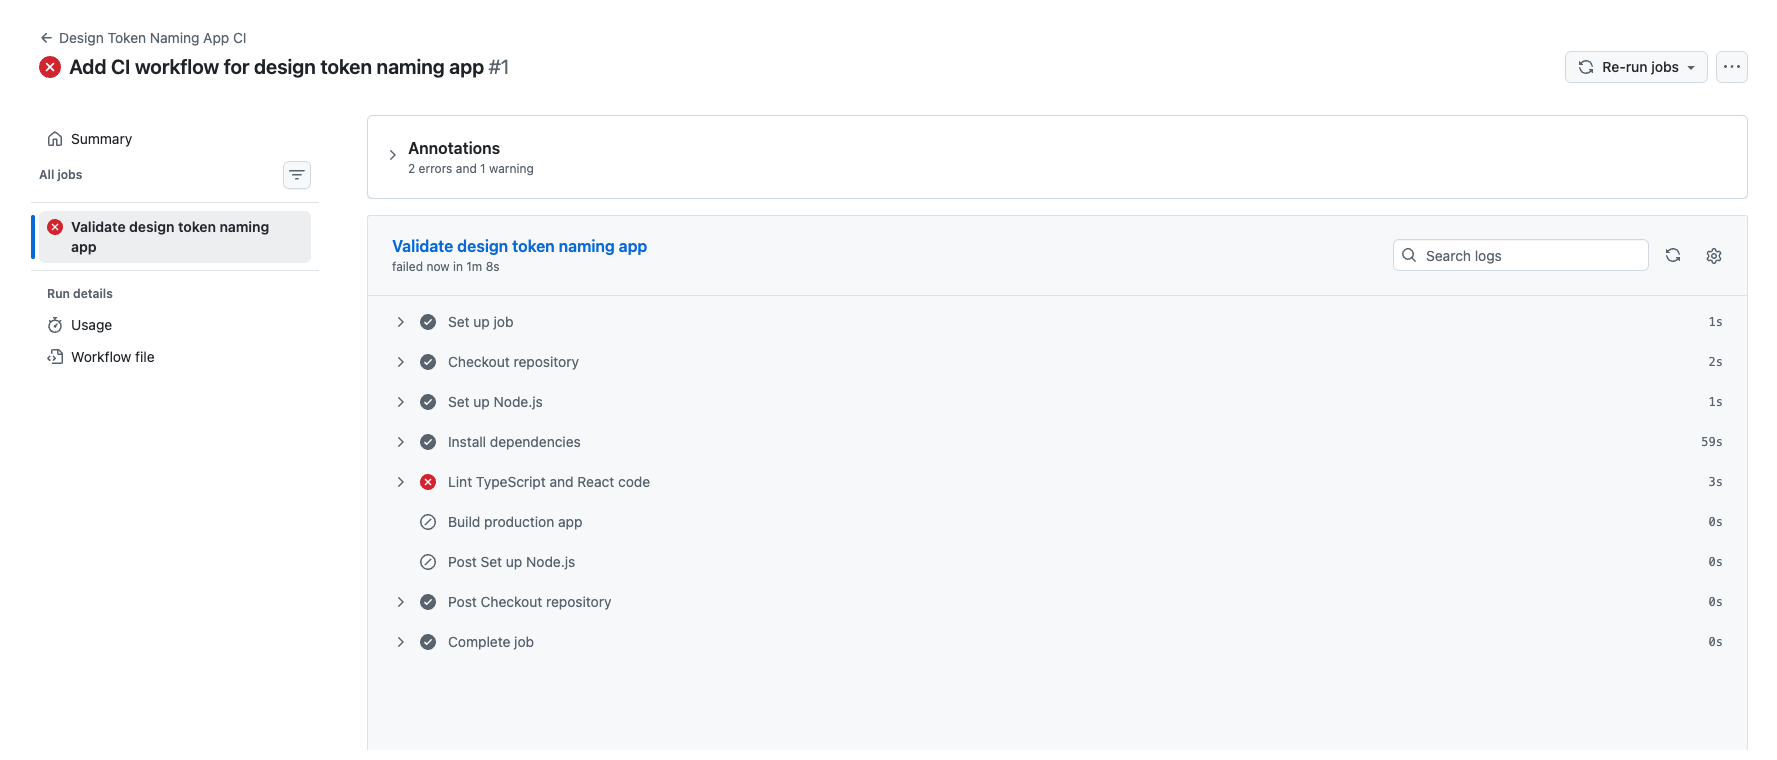
What a run looks like in GitHub
Once a workflow is committed, every matching event creates a run on the Actions tab. While it is executing, you see an orange dot and “In progress”.

Click into a run and you see each step listed in order, with a green check, red X, or grey skip next to it. If something fails, the red X tells you exactly which step to debug. The fix is almost always in the last ten lines of that step’s log.
The 5 best ones to start with
1. Run tests on pull requests
If your project has component code, a docs site, or any product code at all, this is one of the best first actions.
name: Run Tests

on:
  pull_request:

jobs:
  test:
    runs-on: ubuntu-latest
    steps:
      - uses: actions/checkout@v4
      - uses: actions/setup-node@v4
        with:
          node-version: 20
      - run: npm ci
      - run: npm test
Why automate it:
- catches broken changes earlier
- makes reviews less risky
- builds confidence before merging
2. Build your site automatically
If you run a documentation site, a guide site, a design system site, or a personal product site, this is a strong one.
name: Build Site

on:
  push:
    branches: [main]

jobs:
  build:
    runs-on: ubuntu-latest
    steps:
      - uses: actions/checkout@v4
      - uses: actions/setup-node@v4
        with:
          node-version: 20
      - run: npm ci
      - run: npm run build
Why automate it:
- catches build failures fast
- keeps publishing more reliable
- removes manual build-check steps
3. Build design tokens when token files change
If you work with tokens, this is one of the most useful design-specific automations. The paths filter means it only runs when something inside tokens/ actually changed, so it does not waste minutes on unrelated commits.
name: Build Tokens

on:
  push:
    paths:
      - 'tokens/**'

jobs:
  build-tokens:
    runs-on: ubuntu-latest
    steps:
      - uses: actions/checkout@v4
      - uses: actions/setup-node@v4
        with:
          node-version: 20
      - run: npm ci
      - run: npm run build:tokens
Why automate it:
- ensures token outputs stay up to date
- reduces token pipeline mistakes
- makes design changes easier to trust
4. Run linting or validation
This is great for:
- component code
- JSON
- token files
- markdown content
- docs structure
name: Lint Project

on:
  pull_request:

jobs:
  lint:
    runs-on: ubuntu-latest
    steps:
      - uses: actions/checkout@v4
      - uses: actions/setup-node@v4
        with:
          node-version: 20
      - run: npm ci
      - run: npm run lint
Why automate it:
- catches issues before they become bigger problems
- keeps standards more consistent
- supports cleaner collaboration
5. Add a manual button for useful scripts
This one is underrated.
Sometimes you want to rerun something useful without opening a terminal. The workflow_dispatch trigger gives you a green “Run workflow” button in the GitHub UI.
Examples:
- generate docs
- rebuild assets
- export tokens
- create a changelog
name: Generate Docs

on:
  workflow_dispatch:

jobs:
  generate:
    runs-on: ubuntu-latest
    steps:
      - uses: actions/checkout@v4
      - uses: actions/setup-node@v4
        with:
          node-version: 20
      - run: npm ci
      - run: npm run docs:generate
Why automate it:
- makes useful scripts easier to rerun
- helps non-technical teammates use workflows too
- turns random scripts into reusable tools
The manual button is the gateway drug. Once your PM can rebuild the docs without DMing you, you have already crossed into design ops.
Which one should you start with?
Use this logic:
Start with tests if you already have a codebase and breakage is a real risk.
Start with site build if you publish docs or content often and want a simpler first workflow.
Start with tokens if you maintain a design system and token outputs are part of your workflow.
Start with linting if you want cleaner standards and your team keeps missing easy-to-catch issues.
Start with manual workflows if you already have useful scripts and you want convenience without full automation.
Why these five are enough at first
Because they cover the most common workflow categories:
- quality (tests, linting)
- publishing (site build)
- system consistency (token build)
- repeatability (every PR, every push)
- convenience (manual button)
That is more than enough to get value from GitHub Actions without overcomplicating things.
Common mistakes
Starting with something too complex. Your first workflow should be boring and useful. A 200-line YAML file that orchestrates four jobs is not a starter workflow. It is a project.
Automating something nobody needs often. If it happens once every six months, it probably does not need an Action yet. Write a script. Run it manually. Promote it later.
Using triggers that are too broad. Triggering on every push to every branch creates noise and wasted runs. Scope your trigger to the work that matters: branches: [main], paths: ['tokens/**'], pull_request:.
Forgetting to test the command locally first. If npm run build fails on your laptop, it will fail in GitHub too. Always run the exact command locally before adding it to a workflow.
Checklist: you are done when
What you learned
The real benefit
GitHub Actions are useful because they remove tiny points of friction that keep repeating. You stop asking “Did I remember to do that?” and start trusting the system to do it consistently.
That is the win.
Ship your first workflow in one pull request
-
Create the workflow file
In your repo, create
.github/workflows/build-site.yml(or whichever of the five best matches what you already run locally). Paste the YAML from the matching section of this guide. Commit the file on a new branch calledgha-first-workflow.- The file lives at
.github/workflows/<name>.yml, not anywhere else - The
on:trigger matches real activity in your repo (push to main, PR, orworkflow_dispatch) - The commands under
run:are ones you have already run locally and seen pass
- The file lives at
-
Open a PR and watch it run
Push the branch and open a pull request. Go to the Actions tab on GitHub. Watch the run in real time. If it fails, click into the failing step and read the last ten lines of output. Most first failures are a missing Node version or a missing
npm cistep, both one-line fixes.- A green check appears on your PR under the workflow name you chose
- The run took under two minutes on a small project
- You can explain, in one sentence, what this workflow now prevents you from forgetting
Finished this lesson?
Mark it complete to track your progress through "Automation for DS Teams".
The guides alone saved me a full day of work every sprint.
- All guides, prompts, and templates
- Starter kits and templates
- New content every week
- Priority support