AI for Designers 101
What AI tools are, how they differ, which ones matter for designers, and a practical first-week plan for getting started without the hype.
What this guide covers
This is the starting point. If you are a designer who hears about AI tools every day but has not figured out where to begin, this guide gives you the foundation.
No hype. No predictions about the future. Just a clear picture of what exists, what is useful, and what to try first.
Start with text before images or code
The fastest beginner wins are not image generation or code generation. Start with text workflows because you can judge the output immediately, learn how to give direction, and build the critique muscle you need for every other AI tool.
Text workflows first
Visual and code tools later
What AI tools actually are
AI tools for designers fall into three categories.
Text models (LLMs)
These are tools like Claude, ChatGPT, and Gemini. You type a prompt in natural language. The model responds with text.
What designers use them for:
- Writing and refining copy
- Research synthesis (turning messy notes into clear themes)
- UX critique (analyzing screenshots or describing interfaces)
- Generating prompt variations for other tools
- Brainstorming, naming, positioning
These are the most versatile tools. If you only learn one category, learn this one.
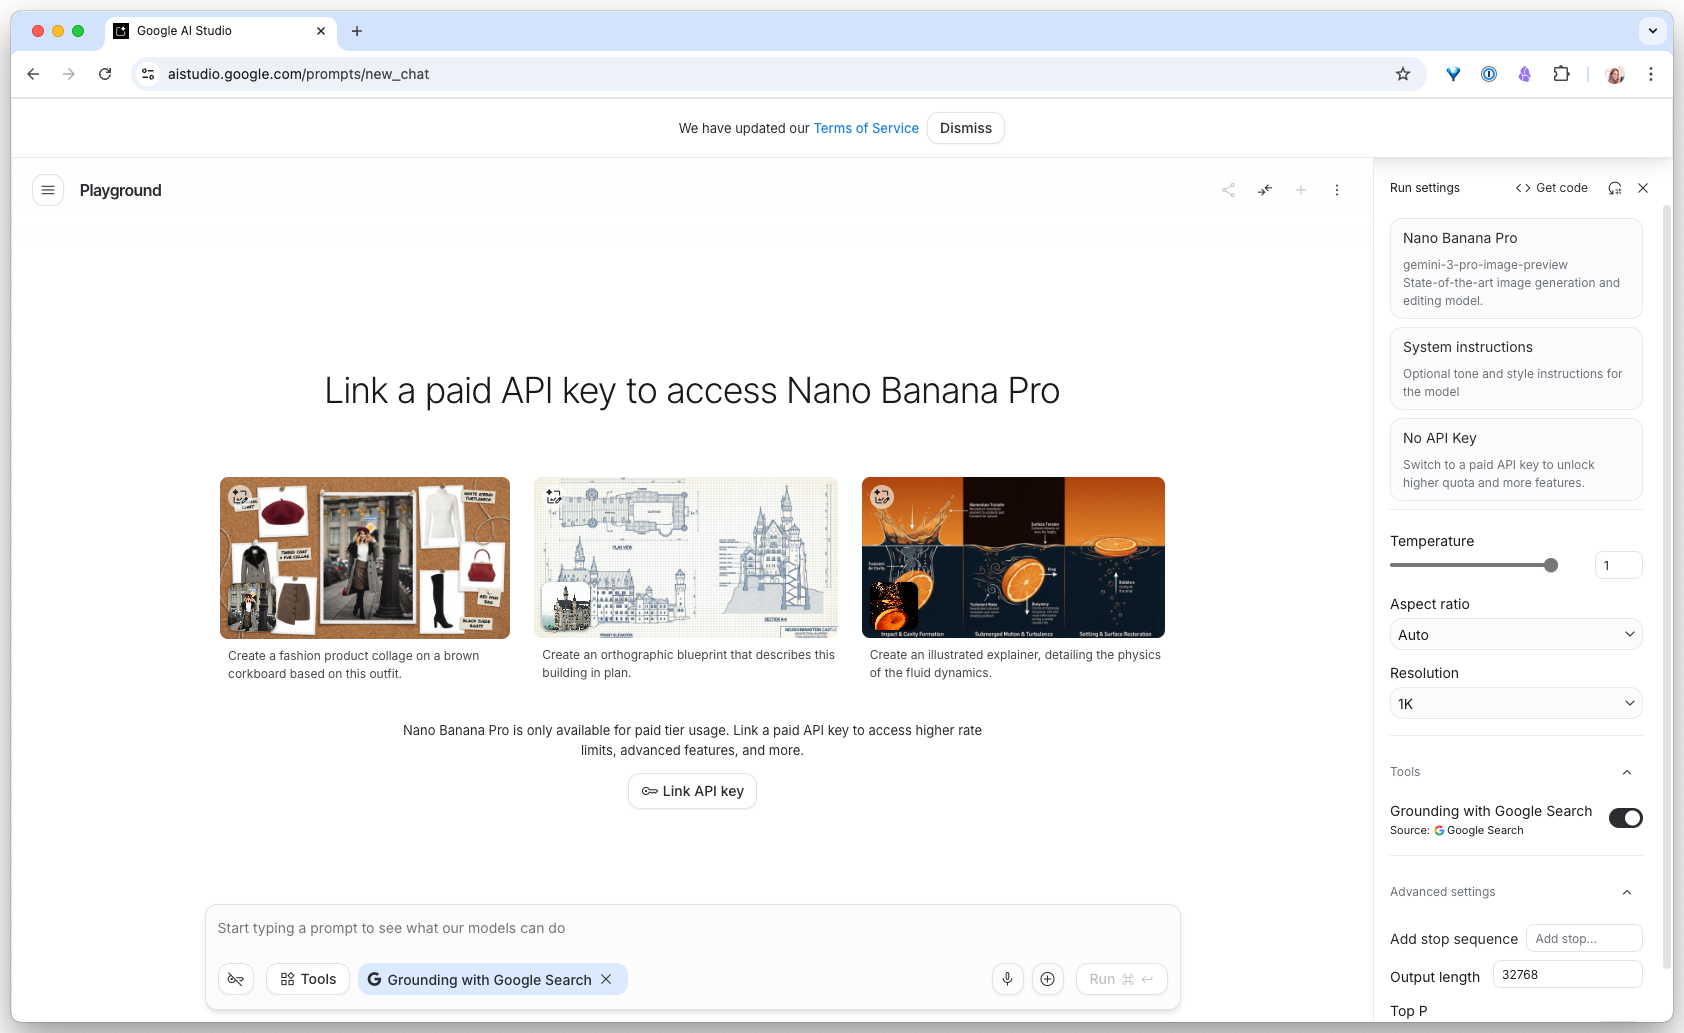
Image generation
Tools like Midjourney, DALL-E, and Nano Banana generate images from text descriptions.
What designers use them for:
- Visual concept exploration (moodboards, style frames)
- Quick illustration or placeholder generation
- Exploring visual territories before opening Figma
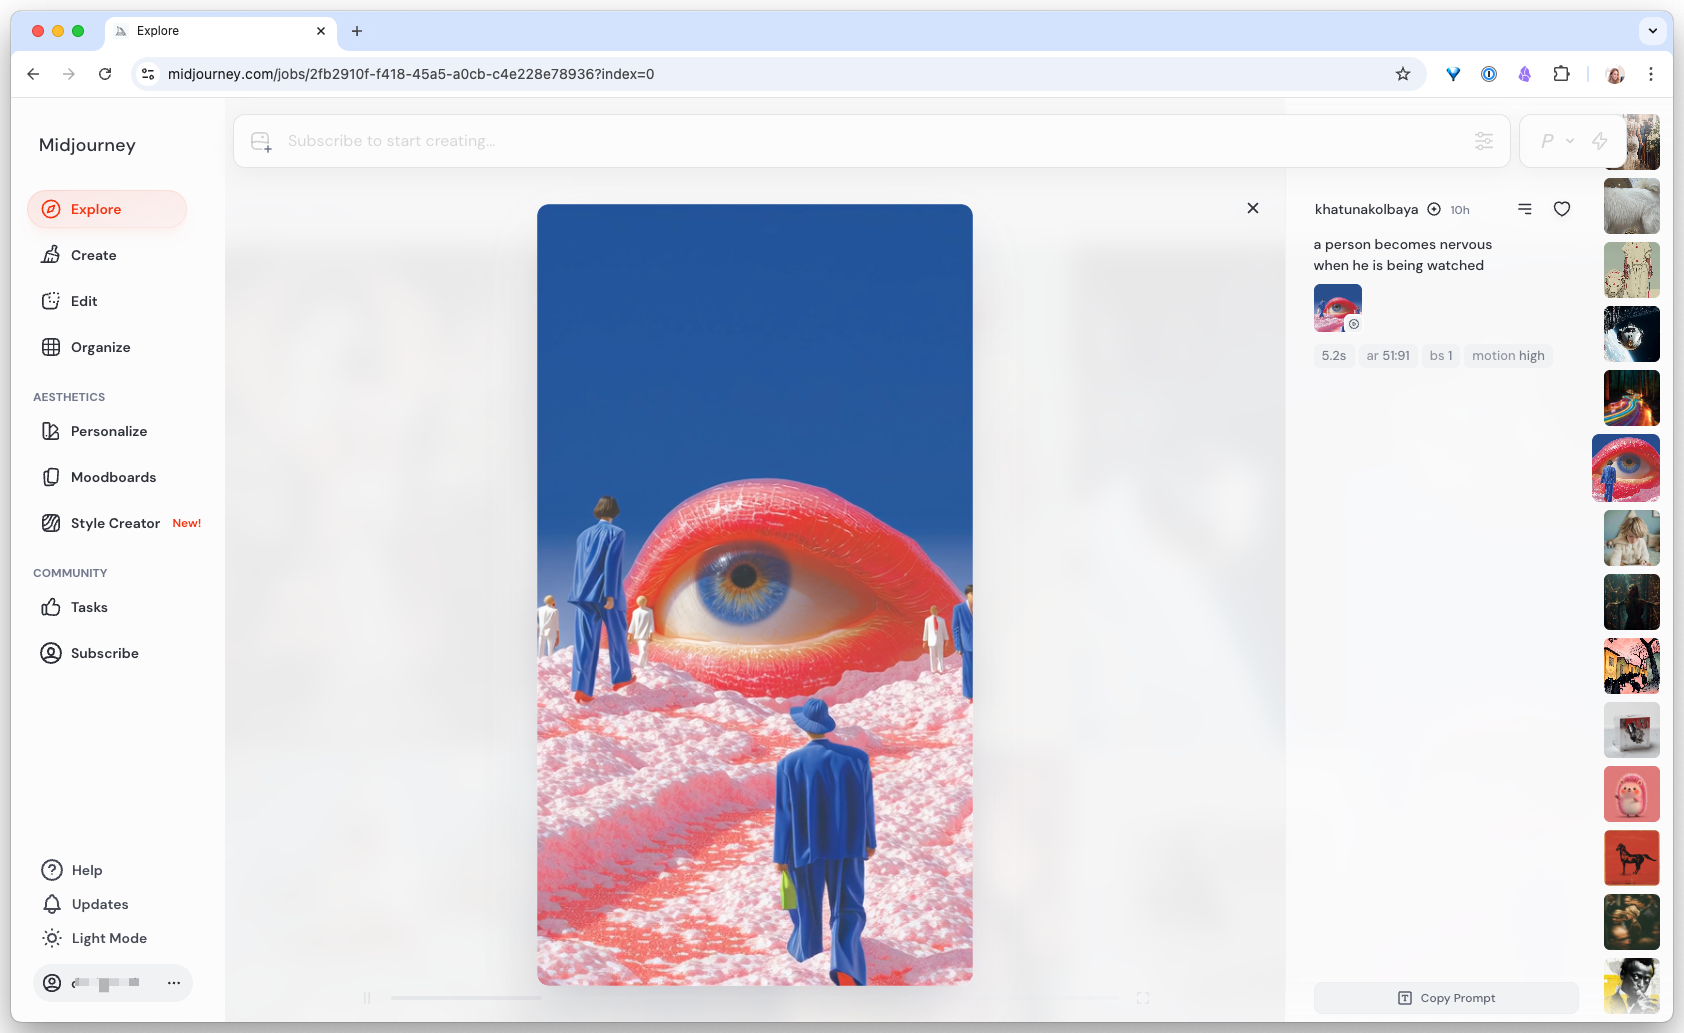
These are useful for early exploration but are not design tools. They generate images, not systems.
Code generation
Tools like Codex, Claude Code, Cursor, and Figma Make generate working code or UI from prompts.
What designers use them for:
- Turning a design direction into a working prototype
- Generating components from descriptions
- Building pages without writing code from scratch
- Translating Figma designs into production-ready front-end
These are where AI gets closest to the design-to-code pipeline.
Chat vs copilot vs agent
These words get used loosely. Here is what they actually mean.
Chat
Manual ping-pong
Copilot
Works inside your tool
Agent
Goal in, work out
Chat
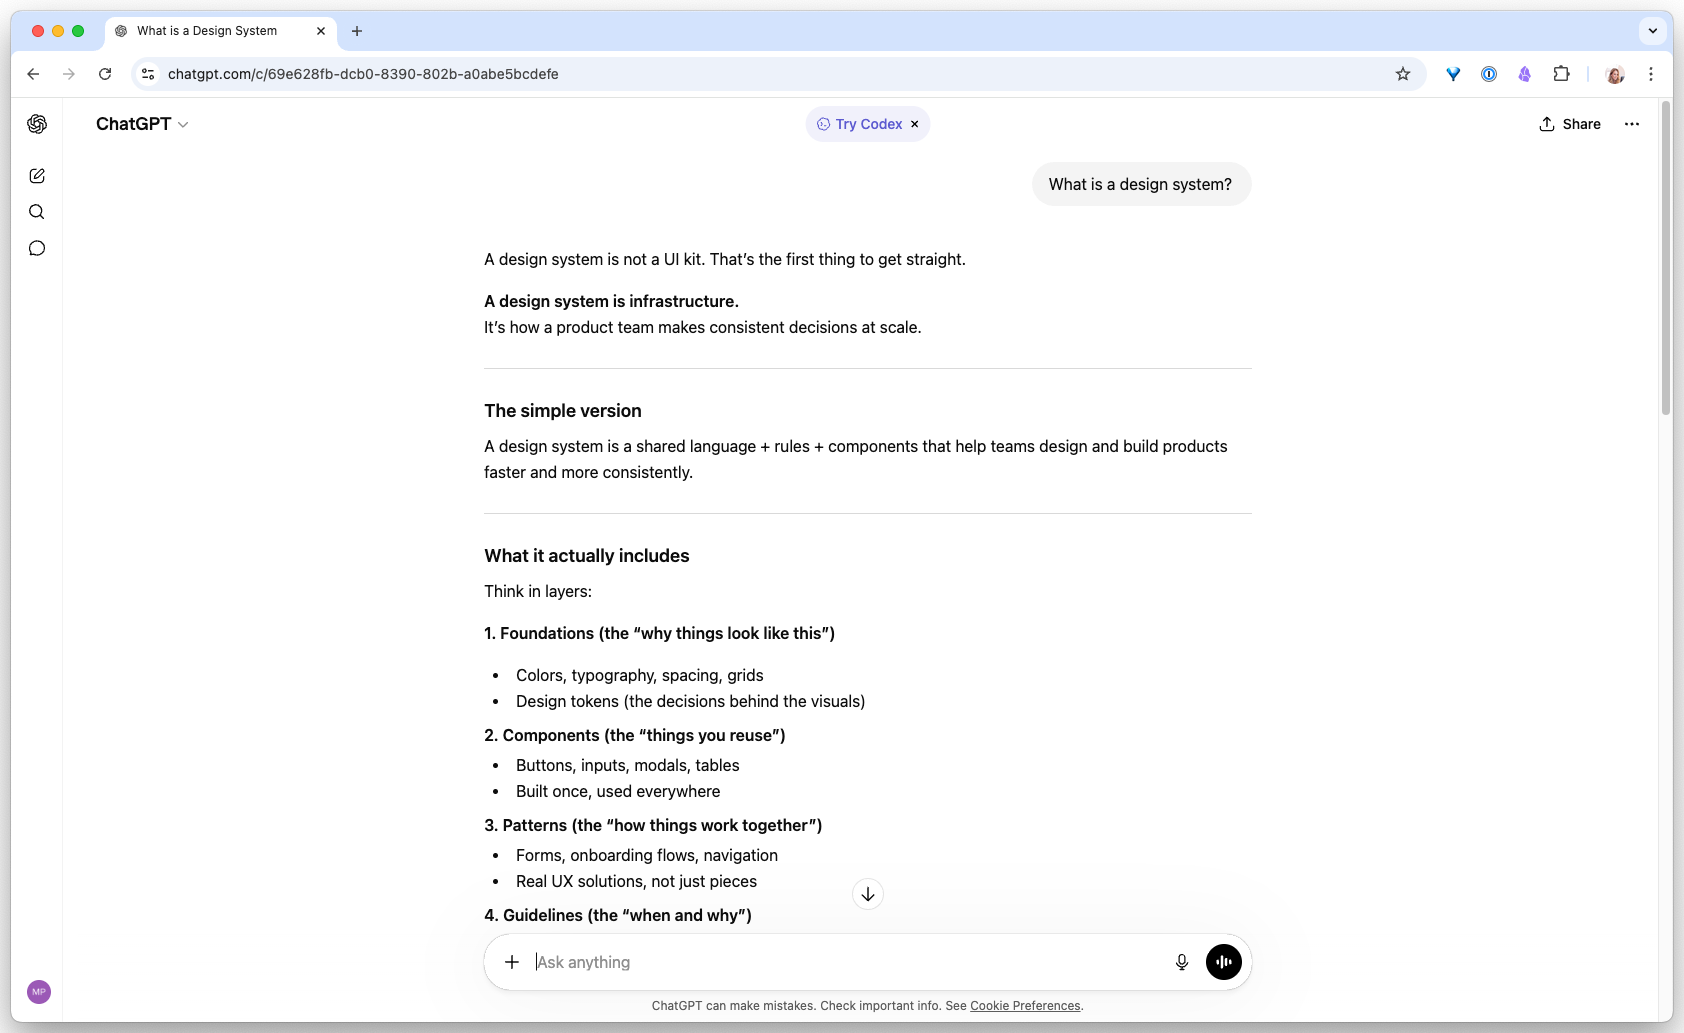
You ask a question. AI answers. You ask another. It answers again. The conversation is manual. You drive every step.
Example: “Critique this screenshot for accessibility issues.”
Copilot
AI works alongside you inside your tool. It suggests completions, offers options, and responds to your actions in real time.
Example: Cursor suggesting code as you type. GitHub Copilot auto-completing a function.
Agent
AI takes a goal and works through multiple steps on its own. It reads files, makes decisions, runs commands, and reports back.
Example: Codex or Claude Code reading your project rules, checking your design tokens, generating a component, and verifying it builds correctly. All from one prompt.
The progression is: chat (you do the work), copilot (AI assists), agent (AI executes).
Most designers start with chat. The real leverage comes when you move to agents.
Which tools matter most right now
You do not need 15 tools. You need 3 or 4 that do different jobs well.
Your daily driver is a general-purpose AI assistant. Not a “text tool.” Both Claude and ChatGPT handle text, vision, file analysis, code, image generation, and increasingly agentic workflows. They are different products with different ecosystems. Pick one as your default before you reach for the other.
Claude
Anthropic’s assistant. The strongest design fit because the ecosystem is built around generating and reasoning about real artifacts:
- Artifacts render live HTML, SVG, and React inside the chat, so the output is a working preview, not just a description
- Projects keep context, files, and instructions persistent across conversations
- Claude Code is a first-class terminal agent that reads your repo, runs commands, and verifies its own work
- Claude Design generates prototypes and slide decks tied to your design system
- MCP connects Claude to live data like Figma, your tokens, and your component library
It is my daily driver and my favourite of the major assistants. The path from chat to agent is the smoothest of any I have tried.
Use it for: critique, copy, research synthesis, prompt refinement, inline UI generation through Artifacts, and agentic code work through Claude Code.
ChatGPT
OpenAI’s assistant. The default cultural reference point. When a non-designer says “I tried AI,” they almost always mean this. Strongest where breadth and ecosystem maturity matter:
- Custom GPTs marketplace with hundreds of thousands of pre-built assistants
- DALL-E image generation native to the chat, no separate tool
- Advanced data analysis for spreadsheets, CSVs, and quick charts
- Operator for agentic browsing in higher tiers
- Search wired in by default, fast recall of recent events
Use it for: anything you need to share with non-designer collaborators, image generation alongside conversation, quick data analysis, and workflows where a pre-built custom GPT already does the job.
Pick one and learn it well before adding the other. Daily-driver switching costs are high. Two unfocused tabs forever is worse.
Google Gemini and AI Studio
Google’s chat app (Gemini) and a developer-focused playground (AI Studio). Strong image understanding, long context windows, and free usage tiers make these useful as a second text model.

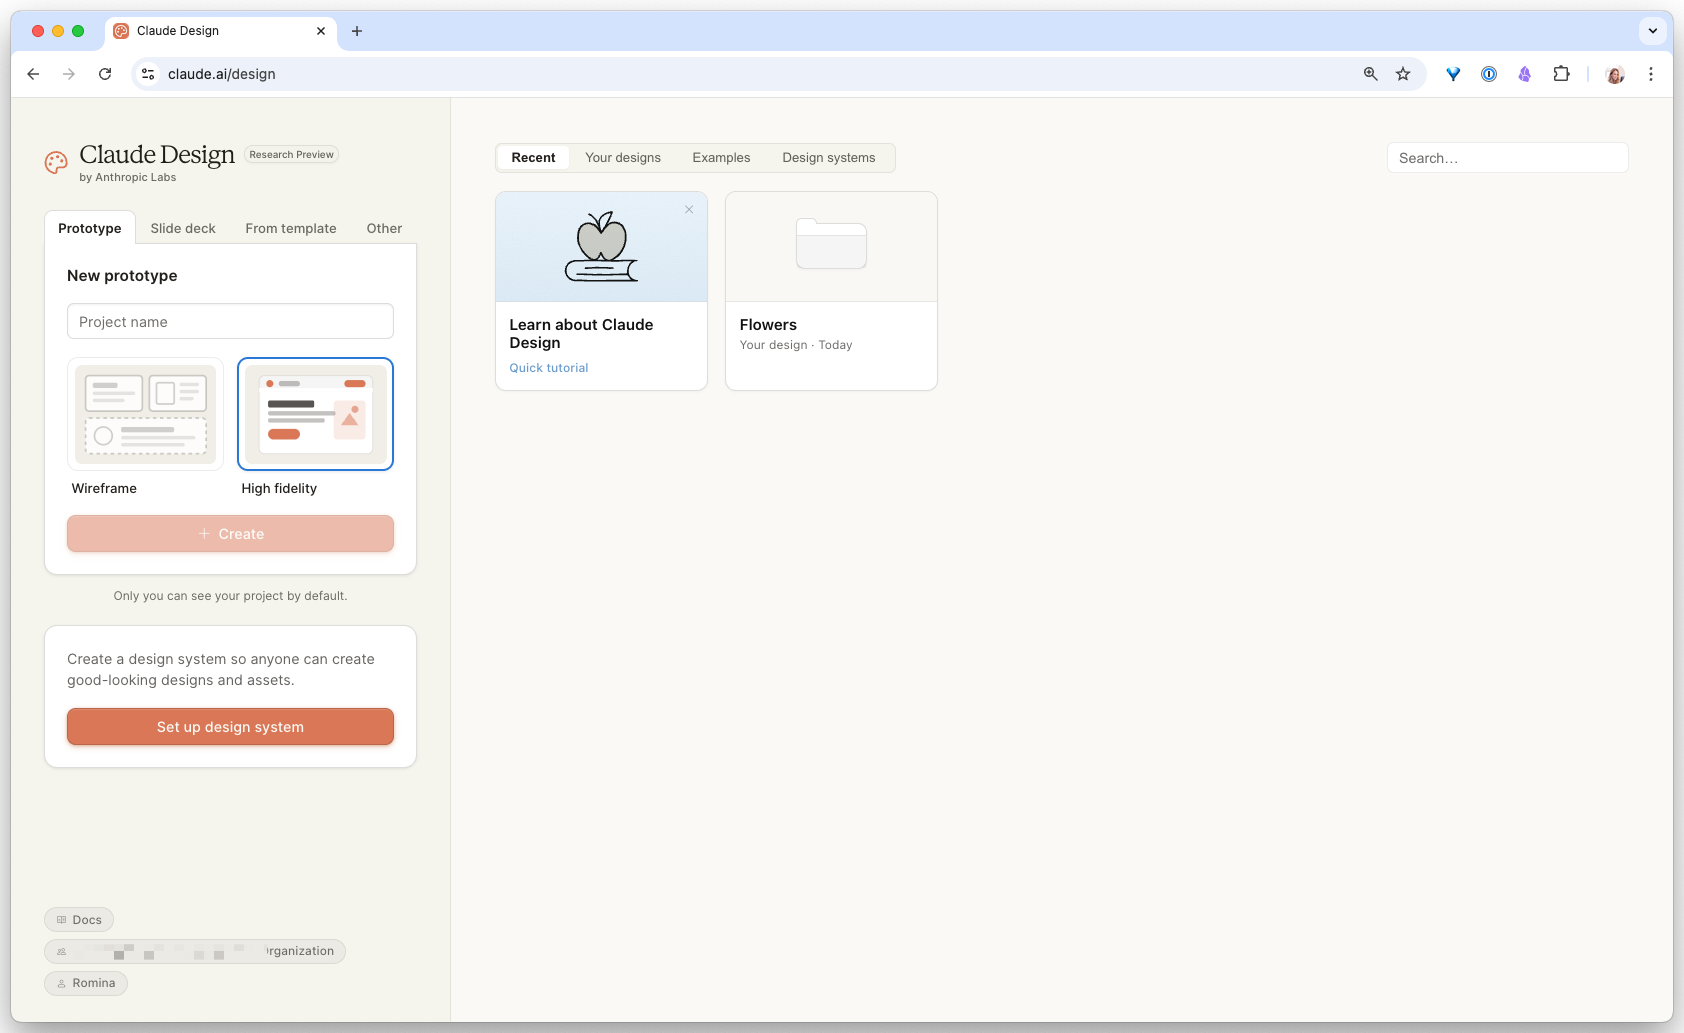
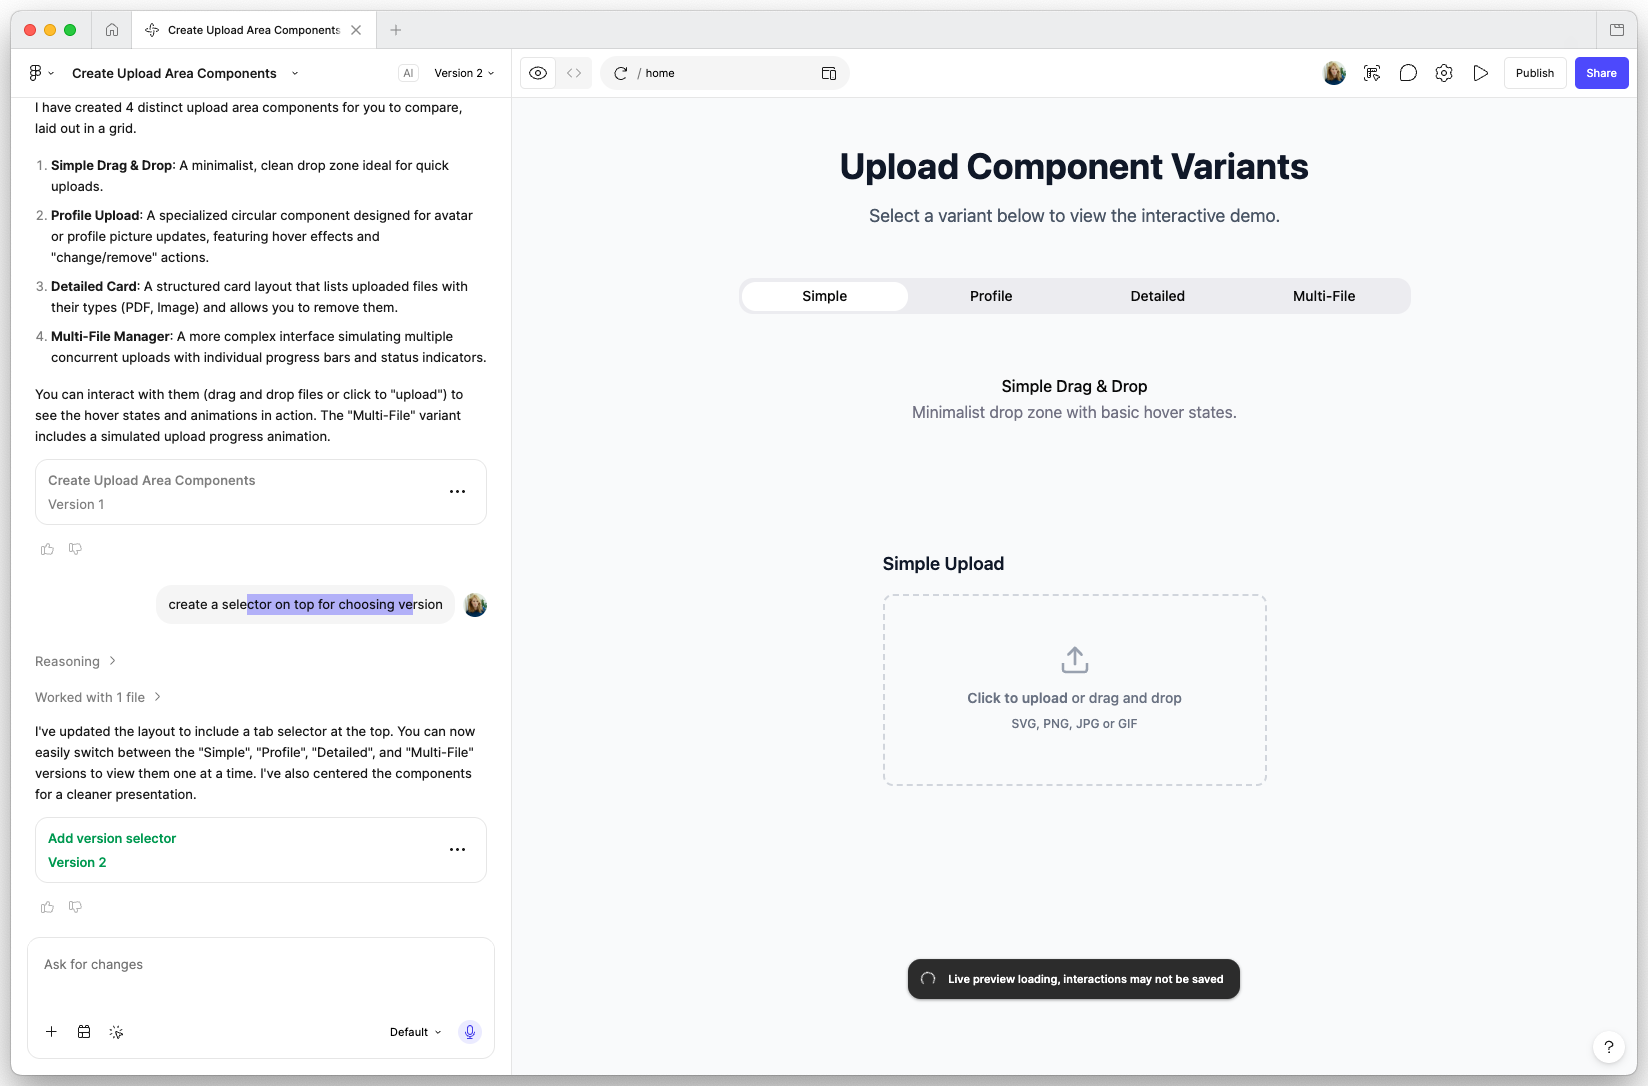
Claude Design
Anthropic’s research-preview design tool, and the easiest AI tool to pick up if you are new to this category. Upload your design system (Figma file, GitHub repo, or DESIGN.md) and the output respects your tokens. I have hit roughly 70% Figma-to-code parity on real work, with interactive components that preview immediately. Strongest for landing pages, prototypes, pitch decks, and mobile mockups. Landing pages get 80% of the way there in about four minutes.
Watch out for token cost. A mobile app with a full design system can burn a Pro plan’s daily quota in a single prompt. Abstract illustrations are hit or miss. You cannot move a single element five pixels without re-prompting. Some integrations are still broken (Canva export is listed but does not work). It is a research preview with real gaps.
Figma Make
Generates UI directly inside Figma from text prompts. Useful for rapid exploration and layout generation. Works best when you give it specific direction, not vague requests. In my testing, it is slower and narrower than Claude Design right now, but it has the advantage of staying inside the Figma file.
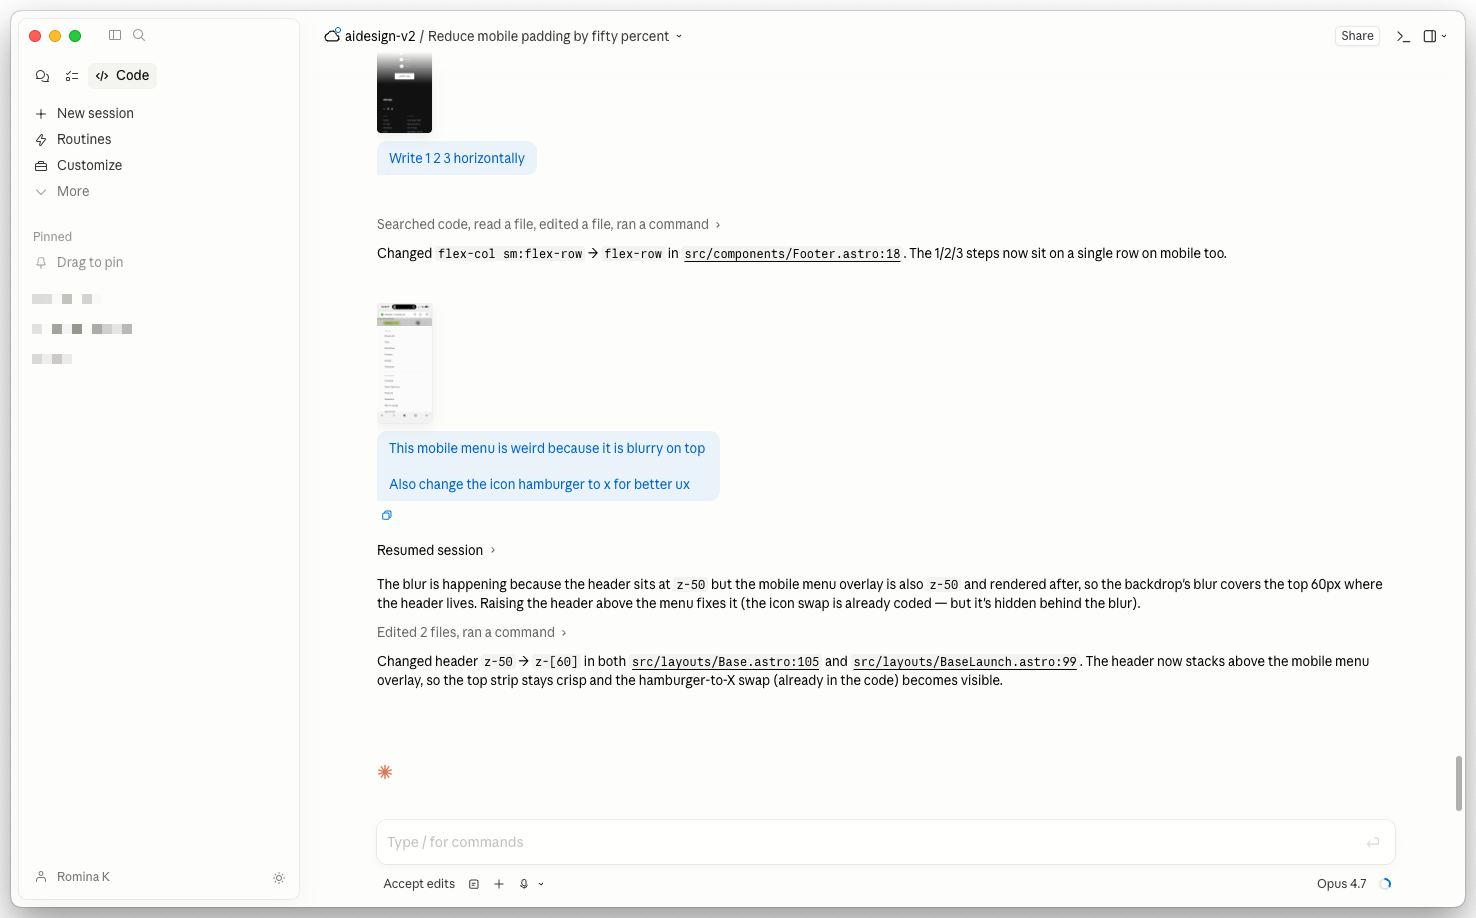
Claude Code
A terminal-native agent from Anthropic. You give it a goal; it reads your repo, follows the rules in your CLAUDE.md, edits files, runs commands, and verifies its own work. Closest to the “agent” paradigm in the diagram above. Designers use it to turn a design direction into a working component, audit tokens across a codebase, or generate documentation tied to real source files.
Codex
OpenAI’s coding agent. If ChatGPT is where you talk through an idea, Codex is where you ask an agent to work inside a real project. It can read files, edit code, run commands, review changes, and help ship the work instead of only describing it.
Codex matters for designers because a lot of design work now lives in files: component libraries, documentation sites, tokens, Storybook stories, prompts, and QA checklists. You can use it to:
- Audit a design-system repo for naming or token drift
- Update docs from real component files
- Review a local page in the browser at desktop and mobile sizes
- Turn a prompt or checklist into a reusable workflow
- Make a small code change and show you the diff
Use it when the work lives in a project folder and you want a traceable result. Start read-only, ask it to explain the repo, then let it edit one low-risk file after it has named the scope.
One project, several ways into Codex
Use the surface that matches the moment. The important part is the shared project context: files, rules, browser state, and a reviewable diff.
Cursor
A fork of VS Code with AI woven into the editor. Closer to the “copilot” paradigm: inline suggestions as you type, chat panel for longer tasks, agent mode for multi-step work. Strongest pick if you already live in an IDE or you want to scaffold a real front-end from a Figma spec.
Designers who learn either of these ship faster than designers who hand everything off.
MCP (Model Context Protocol)
A protocol that lets AI tools connect to live data sources like Figma, your design tokens, or your component library. Instead of copy-pasting context, MCP gives AI direct access to your source of truth.
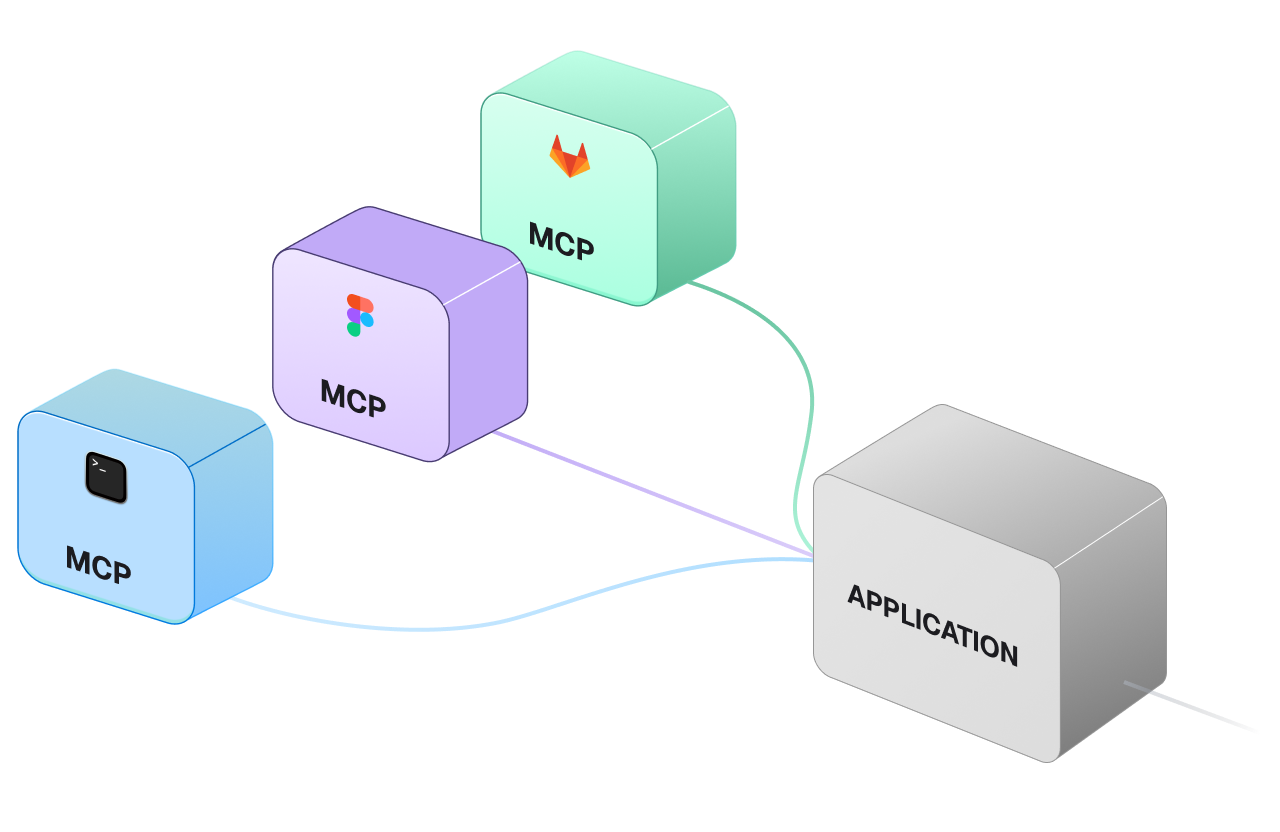
Not a tool you use directly. More like plumbing that makes other tools smarter.
What AI is for, what you are for
AI handles volume and speed. You handle taste and judgment.
Use AI on the work you keep deferring because the manual version is too tedious: synthesising 30 messy notes into 5 themes, rewriting microcopy across a dozen screens, auditing 500 tokens for inconsistency. Keep final design decisions, brand judgment, and user empathy for yourself.
The reframe is 70/30. The question is not “can AI do it all?” but “can AI do the first 70% so I spend my time on the last 30%?” The first version of that answer is usually no. The fifth, after you have learned to give specific direction, is usually yes.
AI will not replace designers. Designers who learn to direct AI will replace designers who do not.
Your first-week plan
Stop reading about AI. Use it on one real artifact from your job, once per day, for a week. You will know more about what AI can do for your work after 5 days of practice than after 5 months of reading about it.
Run the five-day plan on real work
-
Day 1: Critique a real screenshot
Open Claude or ChatGPT. Paste a screenshot of a page, dashboard, or component you currently own. Ask for a critique focused on one specific dimension, for example: “Review this pricing page for hierarchy and scannability. List the three weakest moments with one sentence of evidence each.”
- The feedback names specific elements (a header, a button, a line of copy), not vague categories
- You disagree with at least one point, which means you are actually reading critically
- You wrote one sentence describing which piece of feedback you will act on this week
-
Day 2: Rewrite microcopy on one real screen
Take an interface with placeholder or weak text. Ask AI to write real microcopy: button labels, error messages, empty states, onboarding text. Give it your audience and tone, not just the strings.
- At least one error message is shorter and clearer than what is currently shipping
- Button labels are verb-led and specific, not “Submit” or “Continue”
- You can name the single line of microcopy you will actually ship this week
-
Day 3: Synthesize messy research
Take messy notes from a recent meeting, interview, or Slack thread. Ask AI to extract the top 5 themes and the strongest insight. Give it the source notes verbatim, not a pre-summary.
- The 5 themes are distinct, not three rewordings of the same point
- Each theme traces back to a specific quote in the source
- You pulled one insight worth sharing with the team
-
Day 4: Sharpen a visual direction
Describe a style you want to explore in your own words. Ask AI to sharpen it into specific art direction: typography, color, layout, motion, and what to avoid. Use the Style Explorer to copy a starting point.
- The output names specific typefaces, hex values, or motion timings, not vague adjectives
- At least one direction is reusable as a brief for a real project
- You disagree with one element of the direction and can articulate why
-
Day 5: Generate something real
Use Codex, Figma Make, Claude Code, or Cursor to generate a real component or page from a prompt. Refine until it is close enough to ship or hand off.
- The artifact made it into a real product, doc, or repo, not just your sandbox
- You can name the single task where AI saved you the most time, and the single task where it wasted the most
- You have 5 dated files in
ai-week-1/, one per day, ready to compare
You are ready for the next guide when
Finished this lesson?
Mark it complete to track your progress through "AI Design Starter Path".
Try with Prompts
Ready-to-use prompts related to this guide