Set Up Claude Code (Step by Step for Designers)
Install Claude Code, open it in a folder, and run your first AI tasks. No coding background, no terminal experience needed. Just follow along.
What you will need
Most are free.
Any paid plan: Pro ($20/mo), Max, Team, or Enterprise. The free plan does not include Claude Code.

The CLI tool you will install in step 2. Free if you have a Claude subscription.
Mac, Linux, or Windows. macOS Terminal, iTerm2, Windows Terminal, or PowerShell all work.
Realistic time to install, authenticate, and run your first prompts.
Figma token exports, a GitHub repo, design specs, or even a folder of screenshots. You can also create an empty folder and start fresh.
Why this matters
I spent two years asking engineers to run scripts for me. “Can you check how many tokens have no references?” “Can you grep for hardcoded hex values?” Every request was a Slack message, a context switch, and a 24-hour wait.
Claude Code lets you do those things yourself. In plain English. No syntax to memorize. You type what you want, Claude does it.
This guide assumes you have never opened a terminal in your life. I will walk you through every click.
You do not need any coding experience, any prior terminal experience, or a “design system” project. Claude works on any folder you give it.
Step 1: Open the terminal
The terminal is just a text-based way to talk to your computer. Think of it as a chat window that runs commands instead of sending messages.
On Mac:
- Press
Cmd + Spaceto open Spotlight - Type
Terminal - Press Enter
A small black or white window opens. That is the terminal. Leave it open.
On Windows:
- Press the Windows key
- Type
Terminal(orPowerShellif Terminal is not installed) - Press Enter
That is it. You are now in the terminal. You will only need to type a few things in here, ever.
Step 2: Install Claude Code
Copy this line, paste it into the terminal, and press Enter:
curl -fsSL https://claude.ai/install.sh | bashYou will see some text scrolling. After about 30 seconds, it stops. Claude Code is now installed.
What just happened
You told your computer to download an installer from Claude’s website and run it. The installer placed a tool called claude on your machine. From now on, typing claude in the terminal will start it.
Step 3: Pick a folder to work in
Claude Code reads files. So you need to point it at a folder containing the files you want it to read.
You have three good starting points:
Option A: A folder of design tokens (recommended)
Export your tokens from Figma using the Tokens Studio plugin, or grab a JSON file your engineer sent you. Save it somewhere you can find, like Documents/my-tokens/.
Option B: A GitHub repository
If your team has a design system or component library on GitHub, clone it. Easiest way: open Finder, go to where you keep projects, then in the terminal type:
git clone https://github.com/your-team/your-repoReplace the URL with the one from your team’s repo.
Option C: Just a folder
You do not need anything fancy. Make a folder on your Desktop called claude-test. Drop in any text file, screenshot, or document. Claude can work with that.
Step 4: Open that folder in the terminal
This is the part most designers find tricky. The terminal needs to know which folder you want to work in.
The shortcut: drag and drop.
- In the terminal, type
cd(the letters c, d, then a space). Do not press Enter yet. - Open Finder (Mac) or File Explorer (Windows). Find your folder.
- Drag the folder into the terminal window. The full path appears automatically.
- Now press Enter.
You are now “inside” that folder, from the terminal’s point of view. Type ls (Mac/Linux) or dir (Windows) and press Enter to see the files Claude will be able to read.
What just happened
cd stands for “change directory.” It tells the terminal which folder to operate in. Dragging the folder saved you from typing the path manually.
Step 5: Start Claude Code
In the terminal, type:
claudePress Enter.
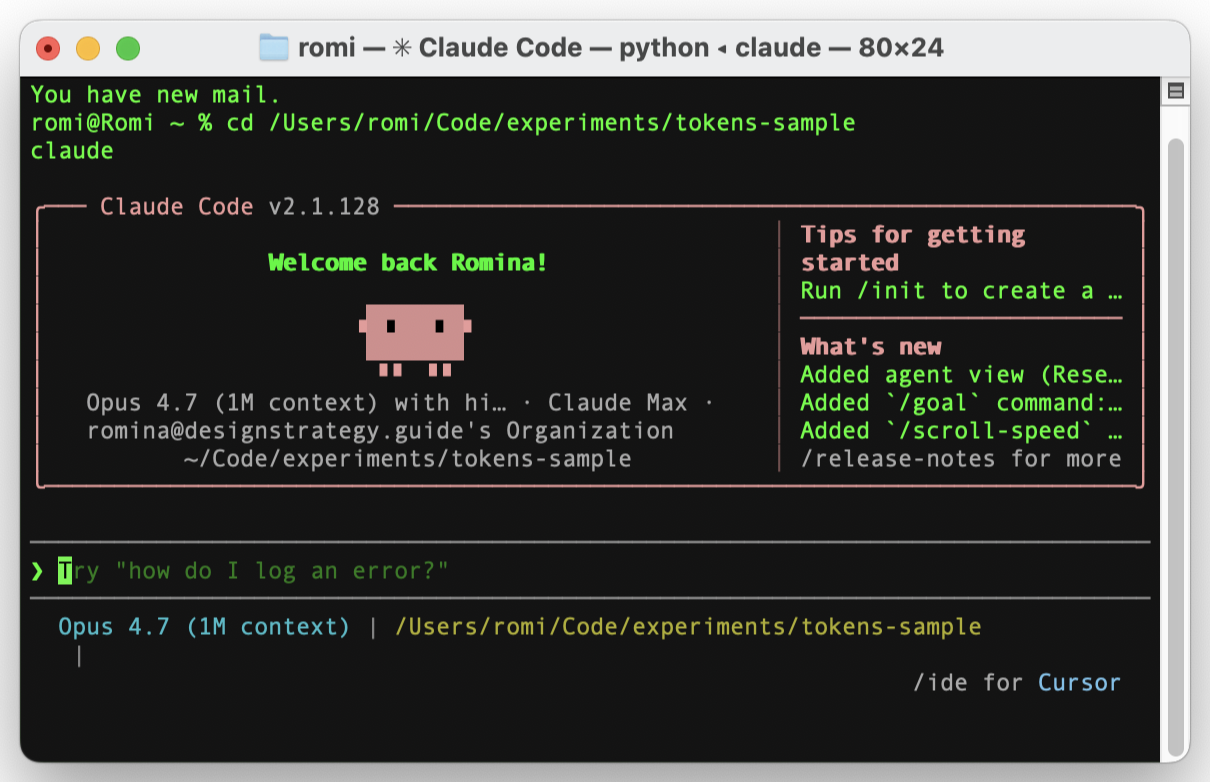
The first time you run it, Claude opens your browser and asks you to log in. Click the link, sign in with your Claude account, and come back to the terminal. You should see a prompt like > or Claude> waiting for input.
You are now talking to Claude inside your folder.
Step 6: Try your first prompts
Type these in plain English. Claude will read your files and respond.
See what is in the folder:
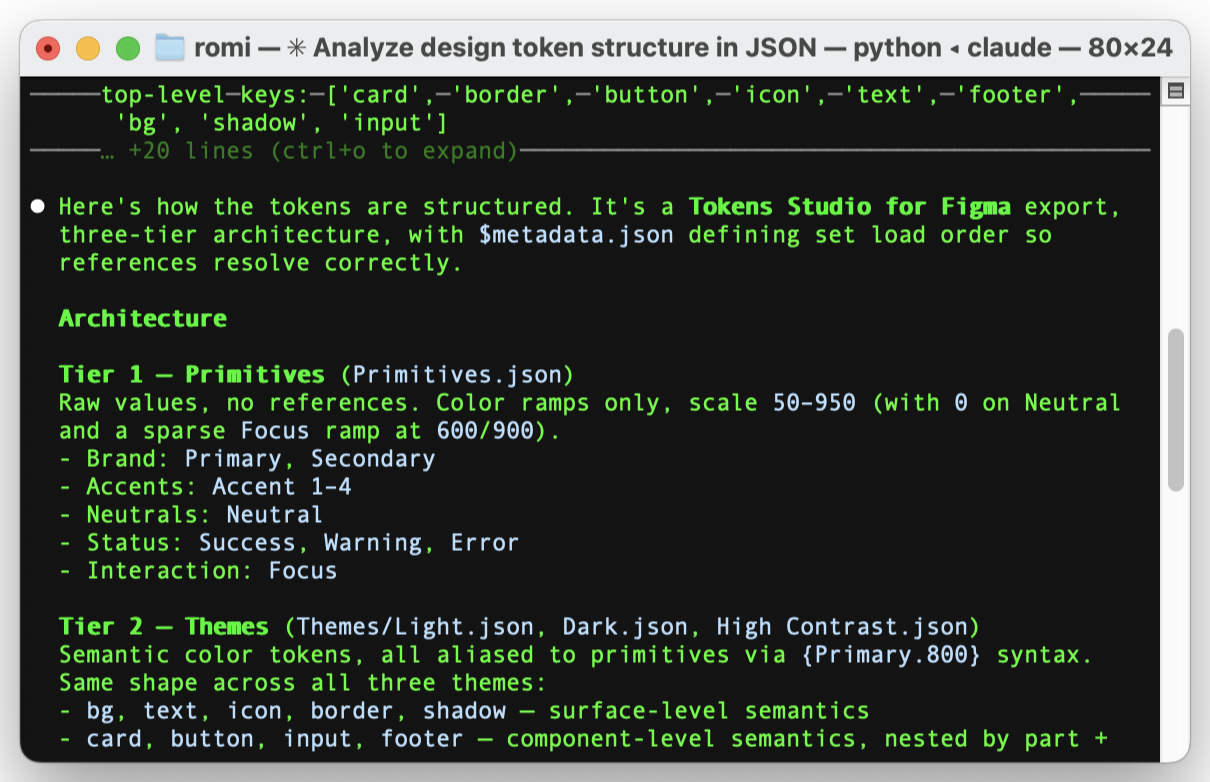
What files are in this project? Group them by type.Inspect a token file:
Open tokens.json and tell me how it is structured. What categories of tokens are there?Find inconsistencies:
Look at all the color values in this folder. Are any of them duplicates with different names?Generate documentation:
Read the Button component. Write a one-paragraph description a non-designer could understand.Convert a screenshot to a description:
Look at the screenshot in this folder. Describe what is on it as if you were briefing an engineer.If Claude gets something wrong, just tell it. “No, the primary button should be blue, not green.” It updates and tries again.
Step 7: Create a CLAUDE.md file (the magic upgrade)
Every time Claude starts a session, it has to figure out your project from scratch. A CLAUDE.md file in your folder tells it what it needs to know up front.
In the terminal, type:
claudeThen in the Claude prompt, paste:
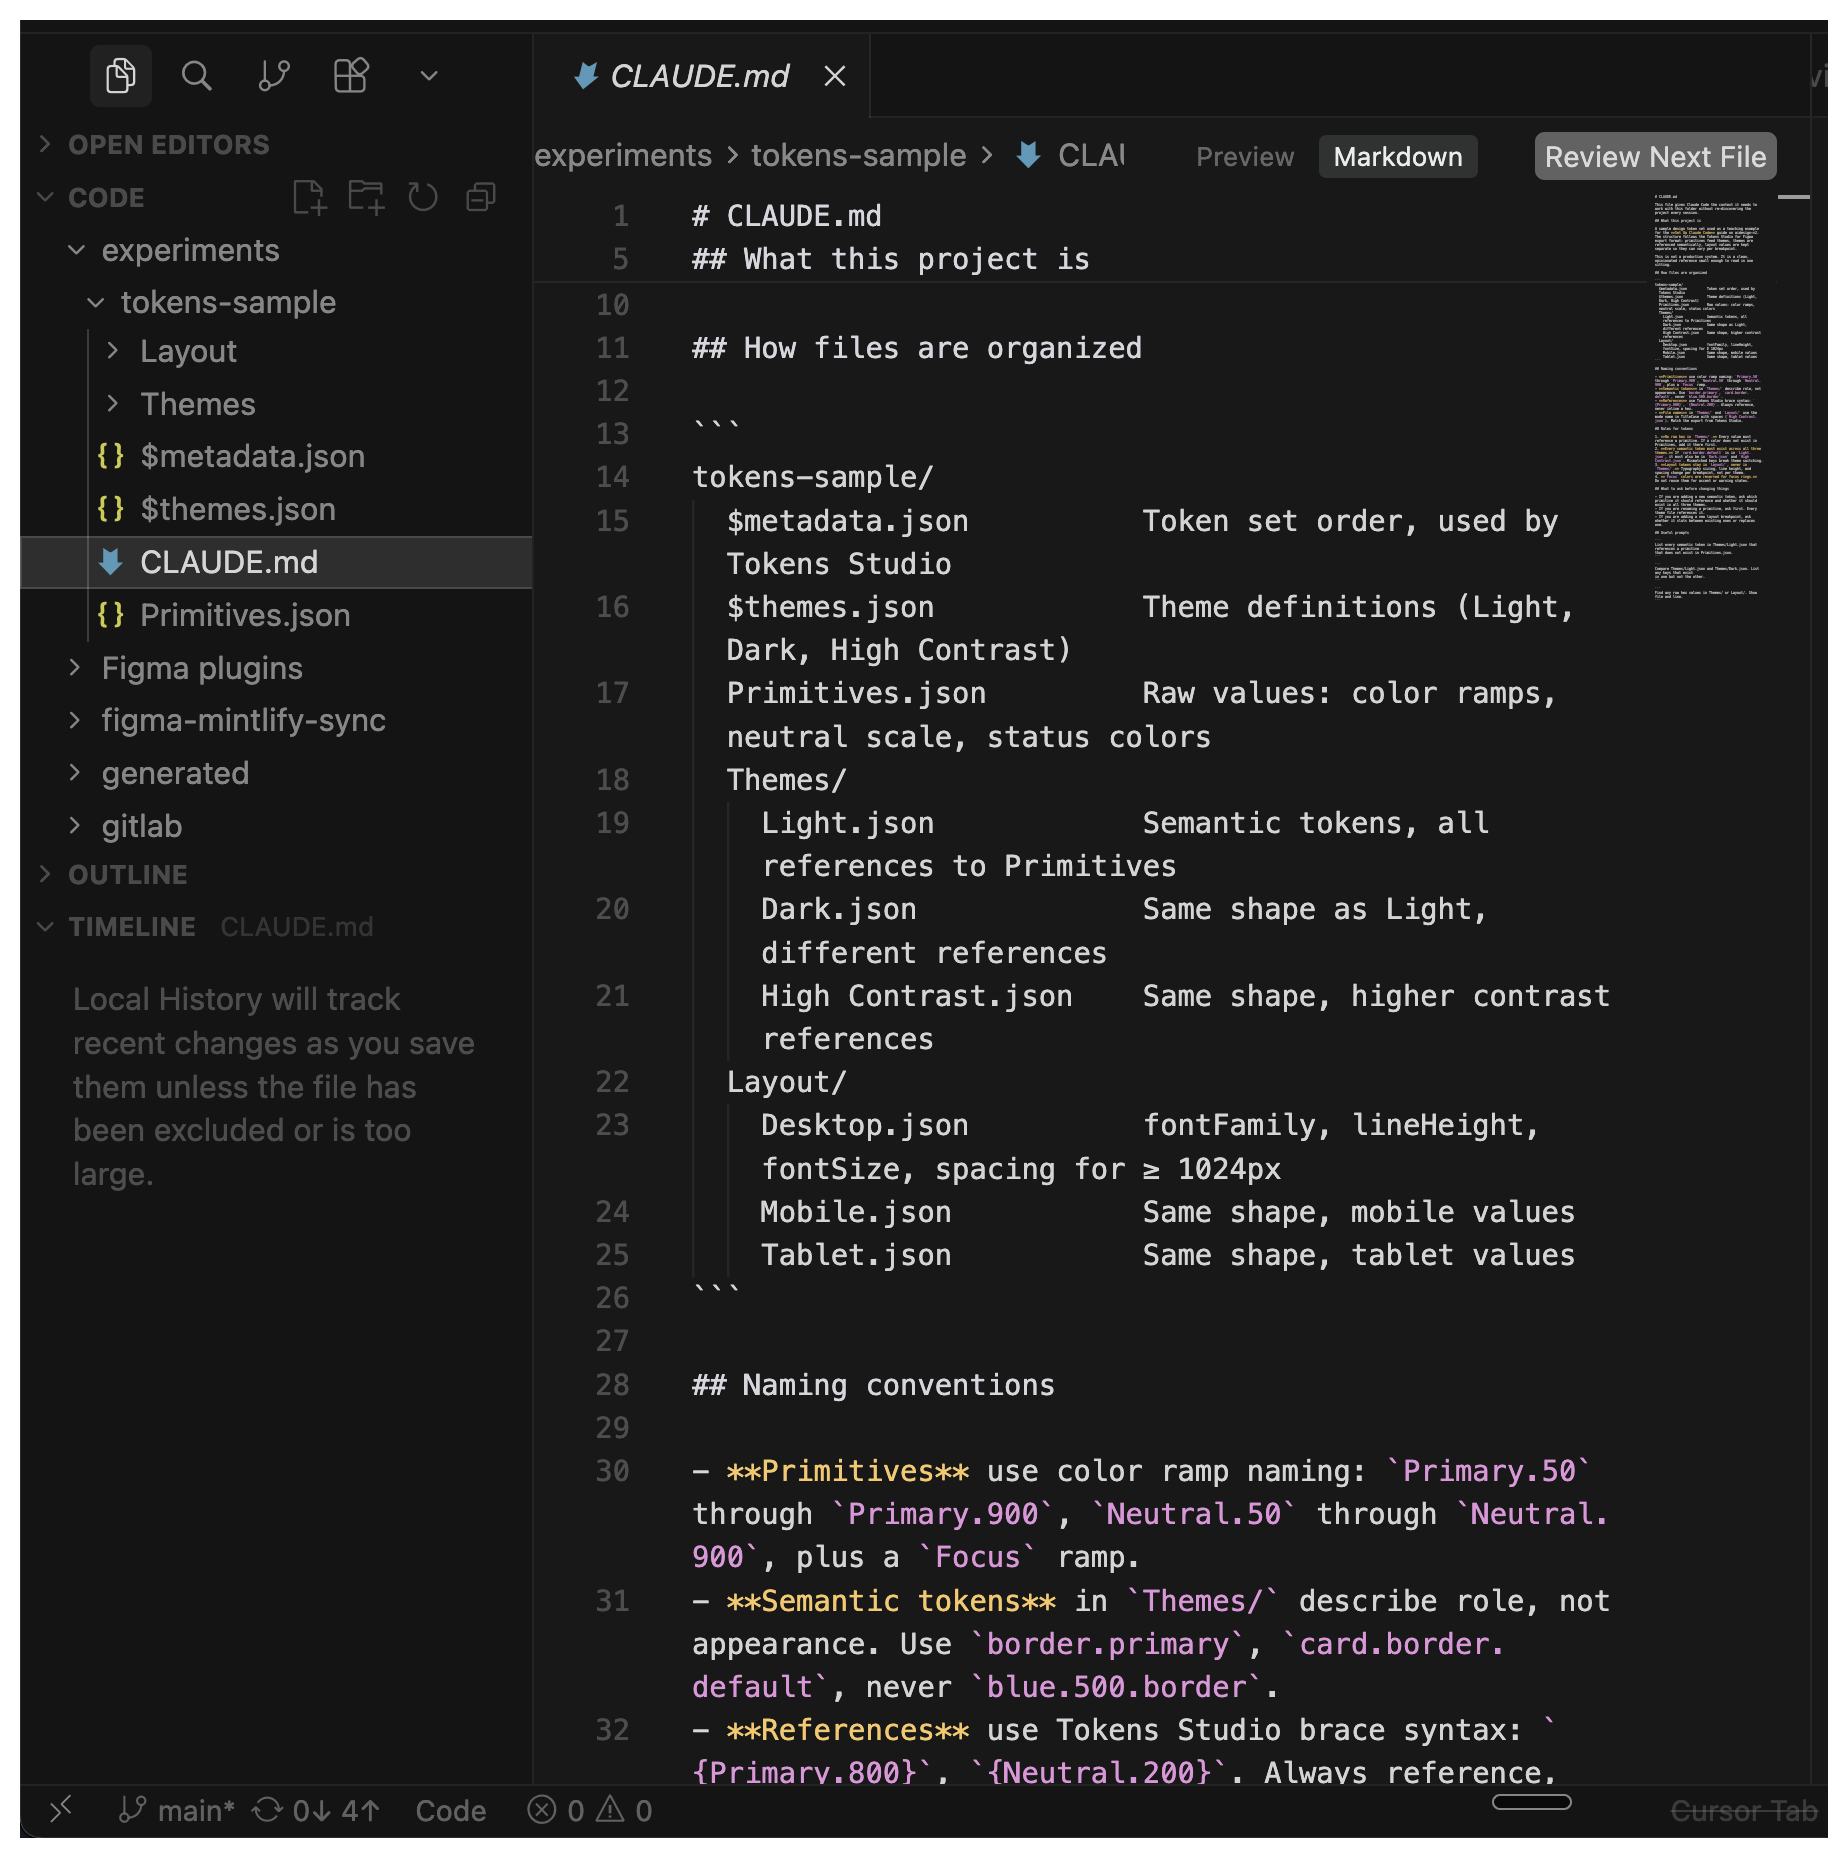
Create a CLAUDE.md file in this folder. It should describe:
1. What this project is
2. How files are organized
3. Any naming conventions I should follow
4. Any rules for tokens or components

Read the files in the folder to figure out as much as you can, then ask me what you cannot infer.
Claude will read your folder, write a draft, and ask you a few questions. Answer them. Save the file.
From now on, every time you start Claude in this folder, it already knows the project. Quality of every response goes up immediately.
What you get
After this workflow, you have:
- Claude Code installed and authenticated
- A folder Claude can read
- A
CLAUDE.mdfile with your project context - The confidence to ask anything in plain English
- A repeatable setup you can use on any new project
Common pitfalls
- Forgetting to
cdinto the right folder. Claude only sees files in the folder you started it from. If responses feel generic or wrong, check which folder you are in by typingpwd. - Asking vague questions. “Is my design good?” gets a vague answer. “List every component in
src/that does not have a description in its JSDoc comment” gets a useful one. - Skipping CLAUDE.md. This is the single biggest improvement you can make. Spend 5 minutes setting it up, save hours every week.
- Closing the terminal mid-session. If you close the window, Claude stops. Just reopen the terminal,
cdback to your folder (or drag it again), and runclaudeto resume.
Run Claude Code on a real folder and save a CLAUDE.md
-
Point Claude at a folder with files you actually own
Open the terminal. Drag a folder into it after typing
cdso the path fills in automatically. Runclaude. When the prompt appears, ask: “What files are in this project? Group them by type and name the three that look most important.”- Claude listed real filenames from the folder, not placeholders
- The grouping matches how you would describe the folder to a teammate
- If Claude missed something obvious, you corrected it in plain English and saw the answer update
-
Generate a CLAUDE.md for the folder
In the same Claude Code session, paste the CLAUDE.md bootstrap prompt from Step 7 of this guide. Answer the follow-up questions honestly. Save the file. Close the session, reopen it, and ask one follow-up question about the project to confirm Claude is using the new context.
- A
CLAUDE.mdfile exists at the root of the folder - The file names the project, the conventions, and at least one “do not do this” rule
- The next session answers a project-specific question without you re-explaining what the folder is
- A
Finished this lesson?
Mark it complete to track your progress through "AI Design Starter Path".
The guides alone saved me a full day of work every sprint.
- All guides, prompts, and templates
- Starter kits and templates
- New content every week
- Priority support