Stop Being Afraid of the Terminal
A designer-friendly walkthrough of the black screen, the commands you actually need, and why the most powerful AI tools live here.
- 01
Folder
You are always inside a folder on disk
- 02
Command
You type a verb: cd, ls, npm, git, claude
- 03
Output
The terminal prints what happened
- 04
Safety net
Undo with git stash, Ctrl+C, or ask Claude
What is a CLI?
CLI stands for Command Line Interface. It’s a text-based way to talk to your computer. Instead of clicking buttons in a GUI (Graphical User Interface), you type commands.
You’ve probably seen it: a dark window with a blinking cursor. That’s the terminal.
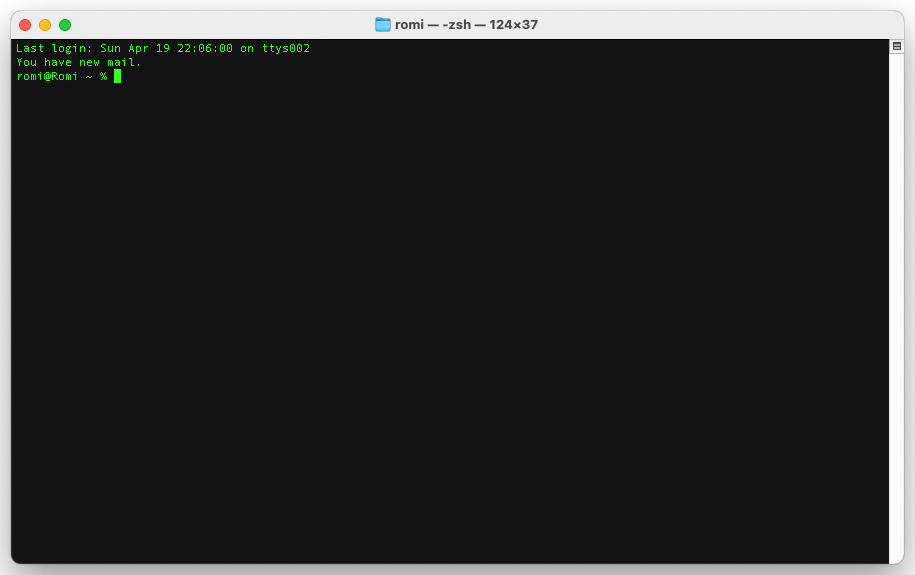
It doesn’t have to stay that scary. Modern terminals like Warp add syntax highlighting, AI autocomplete, and even live agent panels (same keyboard shortcuts, much friendlier experience).
Why should designers learn this?
Because the most powerful AI tools run in the terminal:
- Claude Code - Anthropic’s CLI for Claude. It reads your codebase, edits files, runs tests.
- Cursor - While it has a GUI, many features use terminal commands under the hood.
- npm - How you install and run JavaScript tools (design token processors, MCP servers, etc).
- Git - Version control. How code (and increasingly, design tokens) gets shared.
Design system tasks that are faster in the terminal
This is where the terminal stops being abstract. Here are the tasks design system teams run from a terminal every week:
Token work
- Run Style Dictionary to transform your JSON tokens into CSS, iOS, and Android formats in one command:
npx style-dictionary build - Sync tokens from Tokens Studio to GitHub without opening a browser
- Audit a folder of token files for naming violations and output a report (ask Claude Code to do it in plain English)
Component work
- Start Storybook with
npm run storybook, then browse your components in a live UI - Run a visual regression test across every component:
npx playwright test - Ask Claude Code to generate documentation for every component in a folder (a task that would take a full day by hand)
The real reason it matters
The terminal is where automation lives. A token audit you run manually takes two to four hours. The same audit as a terminal command takes three minutes. Once you can run things from the terminal, you can also schedule them, chain them together, and hand them off to Claude Code without babysitting the process.
You don’t need to memorize commands. You need to know that the terminal exists and what it can do. Claude Code handles the rest.
The basics you need
You don’t need to become a terminal expert. Here are the only commands that matter:
# Navigate folders
cd my-project          # Go into a folder
cd ..                  # Go back up one level
ls                     # List files in current folder

# Run things
npm install            # Install project dependencies
npm run dev            # Start a development server
npm run build          # Build for production

# Git basics
git status             # See what changed
git add .              # Stage all changes
git commit -m "msg"    # Save a snapshot
git push               # Upload to GitHub
Terminal apps for designers
You don’t need to use the scary default terminal. These are friendlier:
- VS Code terminal - Built into VS Code/Cursor. Press
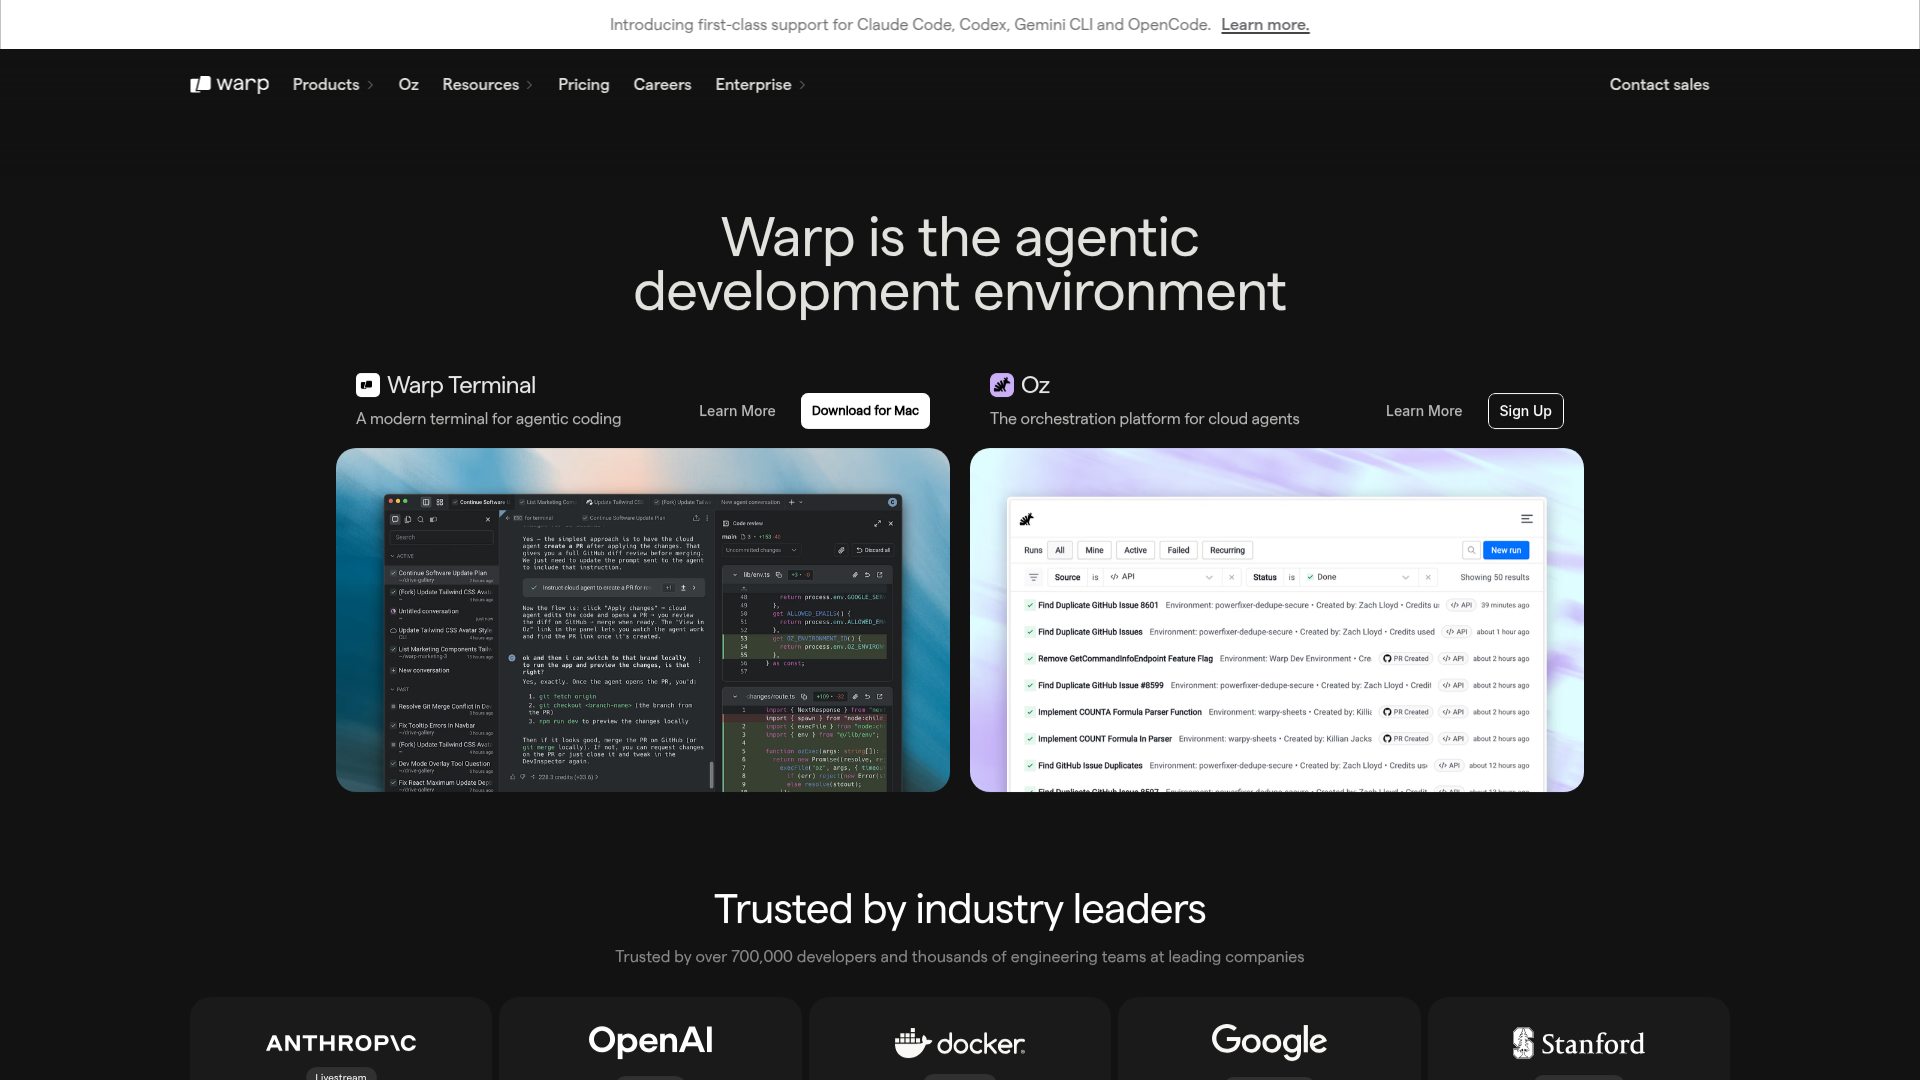
Ctrl+`to open. - Warp - Modern terminal with AI autocomplete (macOS)
- iTerm2 - Popular macOS terminal with better features
- Hyper - Cross-platform, built with web tech, customizable
How Claude Code uses the CLI
When you run Claude Code, it starts an interactive session in your terminal:
claude # Start Claude CodeThen you chat with it in plain English. It reads your files, suggests changes, runs commands, all from the terminal. The CLI is just the interface. The intelligence is Claude.
You don’t have to use the terminal at all
The terminal is the most powerful way to use Claude Code, but it is not the only one.
Claude Code also comes as:
- A desktop app or web app (
claude.aior Claude Desktop), no install, no terminal, just open and ask. Great for questions, reviewing a pasted file, or exploring ideas. - A VS Code or Cursor extension, Claude Code lives inside your editor. You see every change as a diff before accepting it. No terminal needed, and you stay in your normal workflow.
Start wherever feels comfortable. Most designers begin with the app, graduate to the extension when they want to edit actual files, and open the terminal when they have a task that touches many files at once, like auditing an entire token folder.
Common fears (and why they’re unfounded)
“I’ll break something” - Modern tools have undo. Git has git stash and git reset. You can always go back.
“I don’t understand the output” - Neither do most engineers at first. Copy the error message, paste it into Claude, and ask what it means.
“It’s not visual” - True. But the output of CLI tools is often visual (a running website, generated components, design token files).
Run your first three CLI commands in a real project
-
Open a terminal and navigate to a project
Open your terminal app of choice (Cursor’s built-in terminal, Warp, iTerm, or the Mac Terminal). Type
cd(with a trailing space), then drag any project folder from Finder into the terminal window. Press Enter. Runlsand read the list.- The prompt shows the folder name you dragged in
lsprints the same files you would see in Finder- You can navigate back out with
cd ..and see the parent folder’s contents
-
Start Claude Code and ask it a real question
In the same folder, type
claude. Once Claude Code starts, ask a question about the project in plain English: “What does this project do? Read the README and explain it to me in three sentences.” Read the response.- Claude reads files in the project and answers with specifics, not guesses
- The three sentences reference real file names or folder names
- You realize you just used a CLI for something useful without memorizing any commands
Finished this lesson?
Mark it complete to track your progress through "Beginner AI Setup".
The guides alone saved me a full day of work every sprint.
- All guides, prompts, and templates
- Starter kits and templates
- New content every week
- Priority support